This year we started a new strategy for school lunches. It’s called “3 Small Kids Pack Their Own Lunches, Even the Kindergartener”. Subtitle: “So Mommy Doesn’t Go Crazy.”
Guess how it’s going?
Surprisingly well!
In this third installment, we’ve got a week’s worth of healthy lunch ideas, focusing on two main ingredients: mini mozzarella balls and eggs.
Here’s how it works.
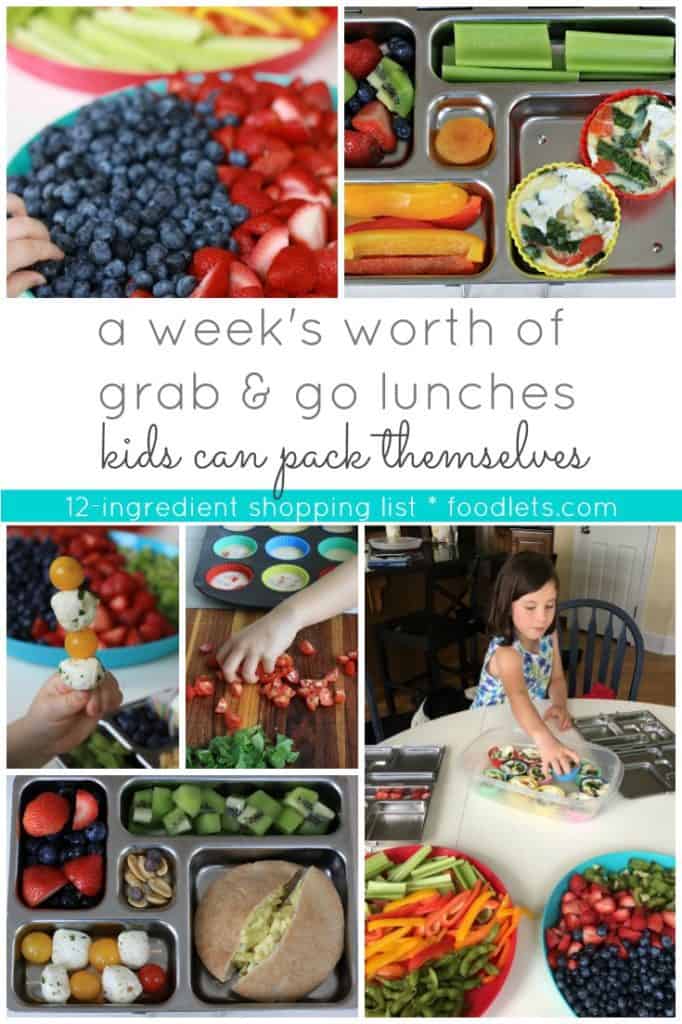
Our lunch boxes are from Planet Box and we love them! Click on the image to find out more.
How to make it easy for kids to pack their own lunches
For this beginner’s guide to packing lunches, there’s still a lot of responsibility for parents BUT the kids are starting to get some skin in the game, which means they’re not only more likely to actually eat their food but they’re also learning how to make good food choices. Here’s a great post to read if you have kids and you need to storage things and prevent leakage.
Parents prep, kids pack. Here are the details:
- Assemble 2 platters with lids (like these) on the weekend: one full of fruit, the other full of veggies. Like you are going to host a party. Except these are the sides for the whole week. Pull them out every day and put them back in the fridge when the kids are done packing.
- Simplify your shopping list (and your life) by focusing on 2 ingredients for the main dishes. This week we’re using mini mozzarella balls and eggs. I make a new variation using one or more of these ingredients but you could certainly just make a couple and rotate throughout the week.
- When the kids get home from school, they wash out their lunch boxes. Either before or after dinner, I set out the platters plus the main for the day and they go to work! The only rule is including at least one veggie. Once everyone’s done (it’s about a 5-10 minute process), the lunches are stored in the fridge. Ready to go for the next busy/fussy/where’s-my-backpack morning.
Tip: Rinse your berries in cold water with a couple teaspoons of vinegar to help them last longer during the week. The ratio is 8 cups water: 1 cup vinegar.

This week’s menu
Using mini mozzarella balls and eggs, we put together 5 tasty lunches this week.
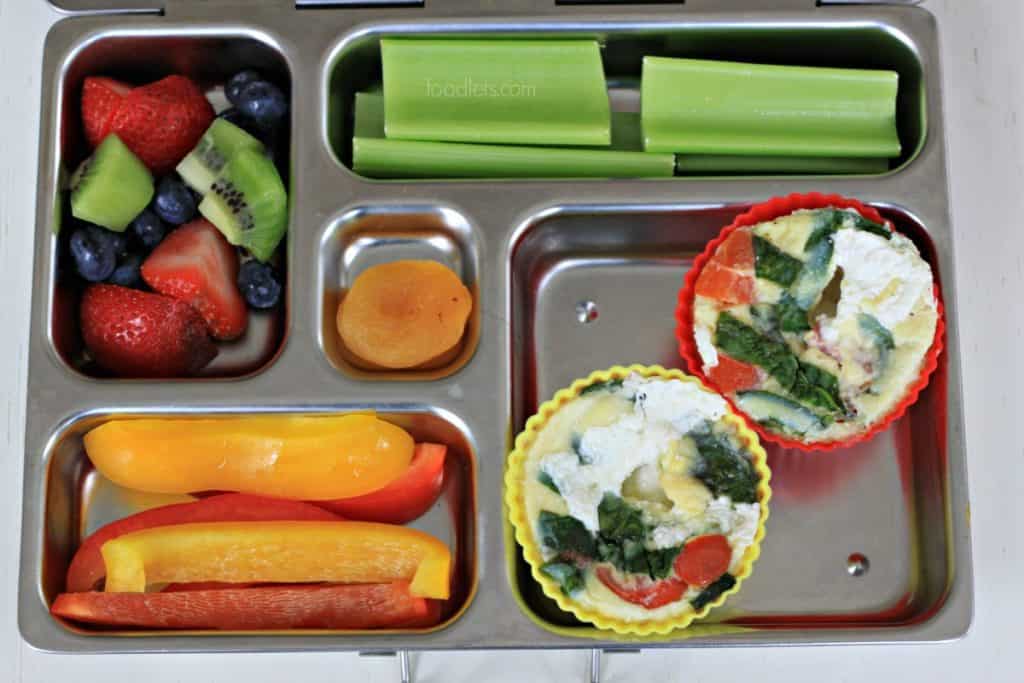
Monday: Mini Quiche Cups with Mozzarella Cheese
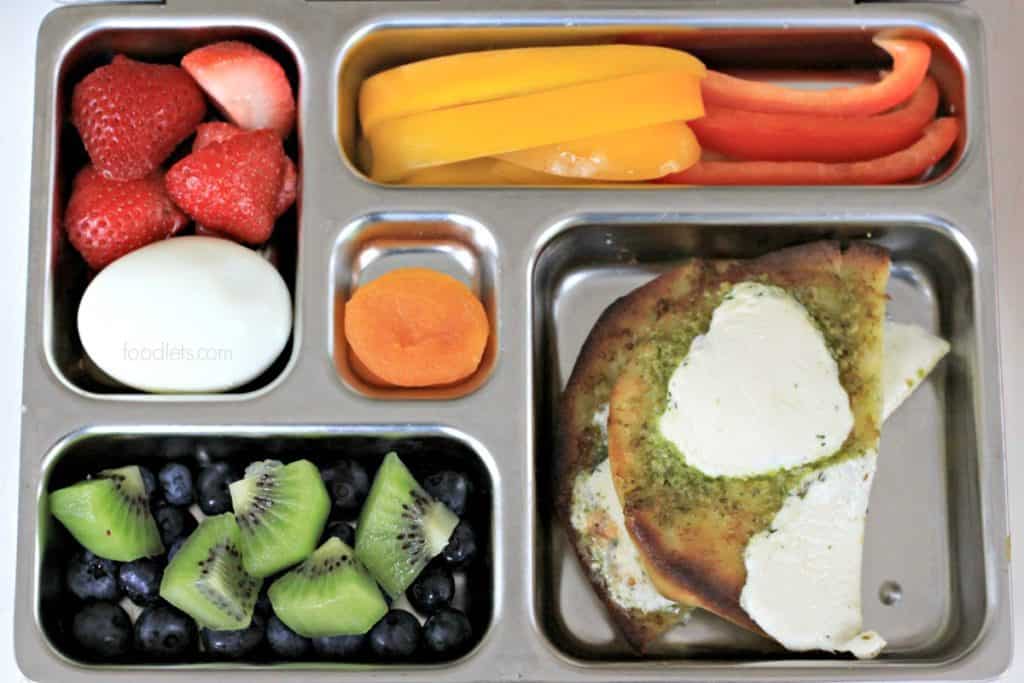
Tuesday: Naan Bread Pizza with Pesto and Mozzarella
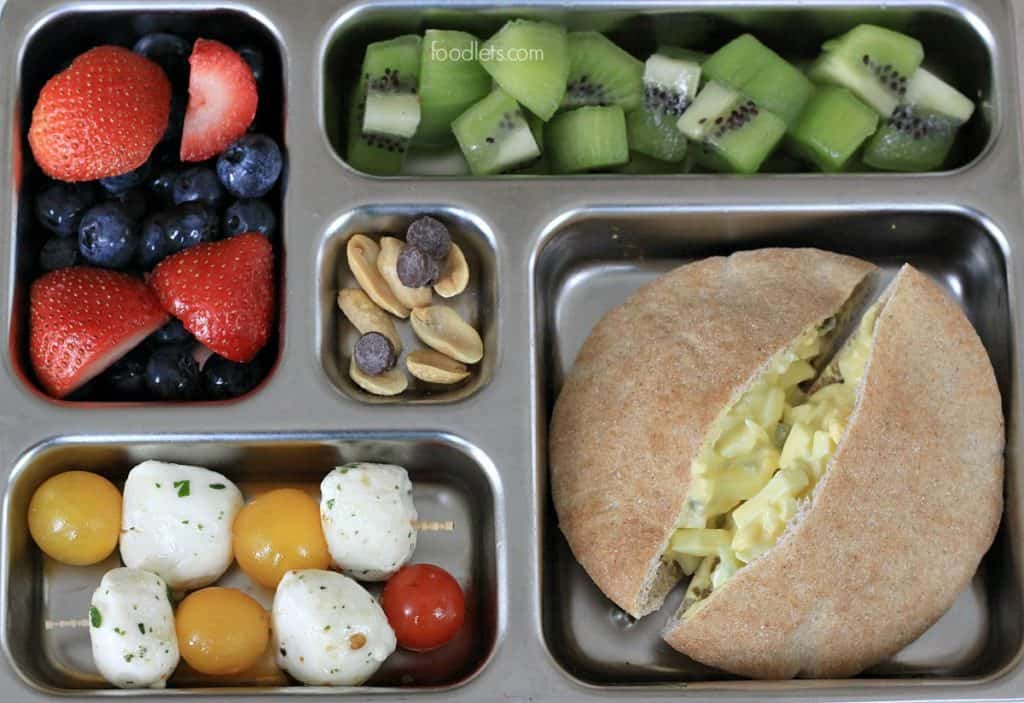
Wednesday: Very Pickle-y Egg Salad Pockets
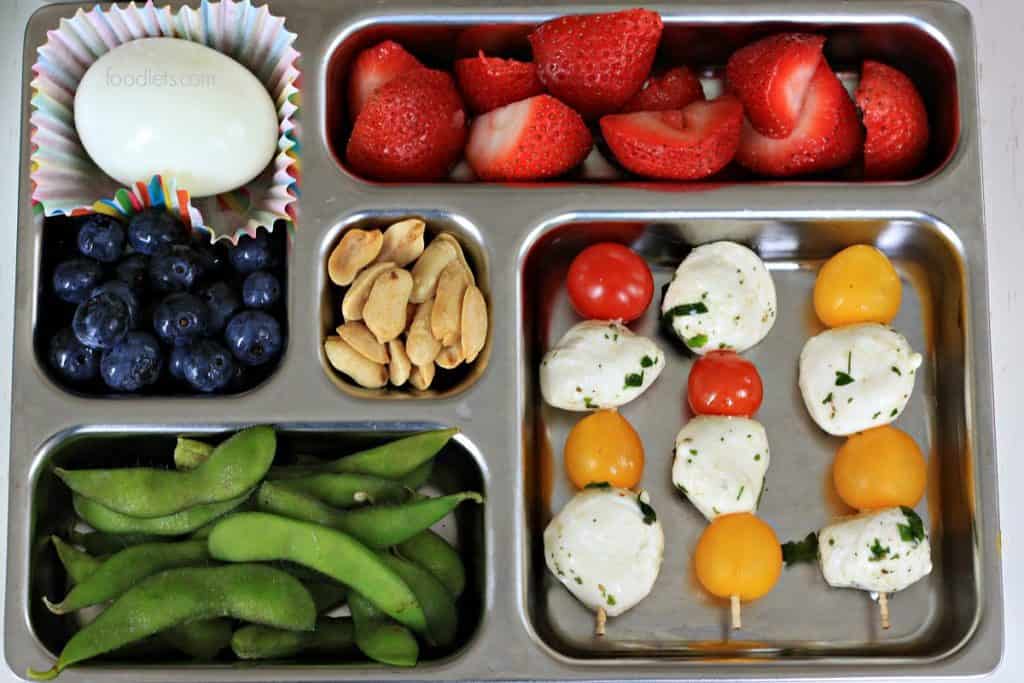
Thursday: Mozzarella-Tomato Skewers
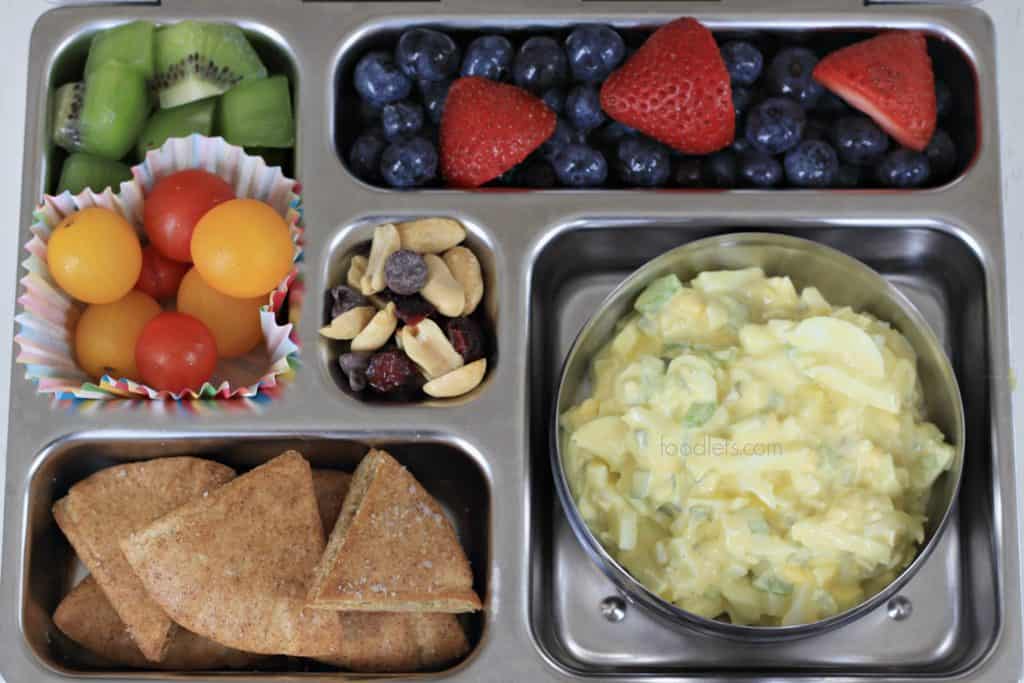
Friday: Very Pickle-y Egg Salad with Crispy Pita Wedges
The recipes & finished lunches
Monday: Mini Quiche Cups with Mozzarella Cheese
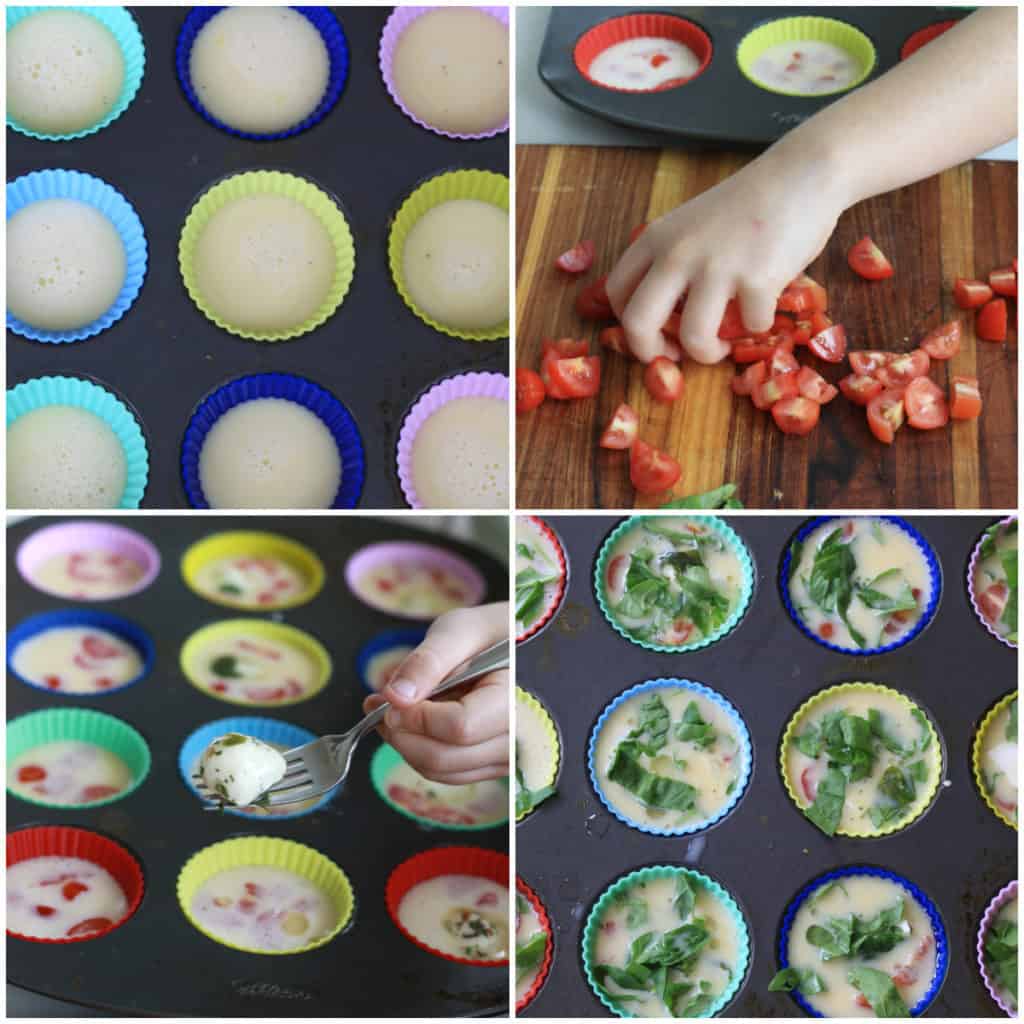
To make 12 mini quiche cups:
- Whisk 10 eggs with 1/2 cup of milk. Spray silicone cups (this set is similar to mine and has the best reviews) with non-stick spray and fill about 2/3 full.
- Add toppings: fresh spinach, quartered cherry tomatoes and 2 mozzarella balls.
- Bake at 375 F for about 15 minutes. Cover and chill in fridge for up to a week.
Tuesday: Naan Bread Pizza with Pesto and Mozzarella
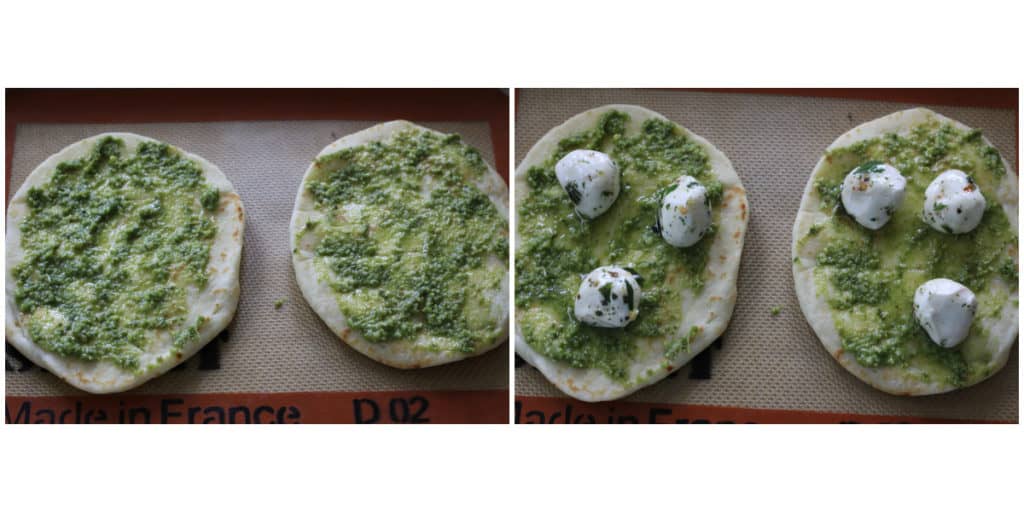
To make naan bread pizza:
- Slather a little pesto on a small naan bread.
- Add 3 mini mozzarella balls.
- Broil on high for 3 minutes.
Wednesday: Very Pickle-y Egg Salad Pockets
To make very pickle-y egg salad:
- Dice 8 hardboiled eggs.
- Add 4 tablespoons mayonnaise plus 2 teaspoons mustard and 8 diced baby dill pickles, plus a pinch of salt and pepper.
- Cut whole-wheat pita pockets in half and fill to the brim.
Note: These won’t keep for more than overnight, so don’t make them more in advance than that.
Thursday: Mozzarella-Tomato Skewers
To make the skewers, just thread the cheese and cherry tomatoes onto extra-long toothpicks like these.

Friday: Very Pickle-y Egg Salad with Crispy Pita Wedges
To make the egg salad with pita wedges:
- Use the leftover egg salad (need the recipe?) and serve in silicone cups OR the storage containers that come with PlanetBox lunch boxes.
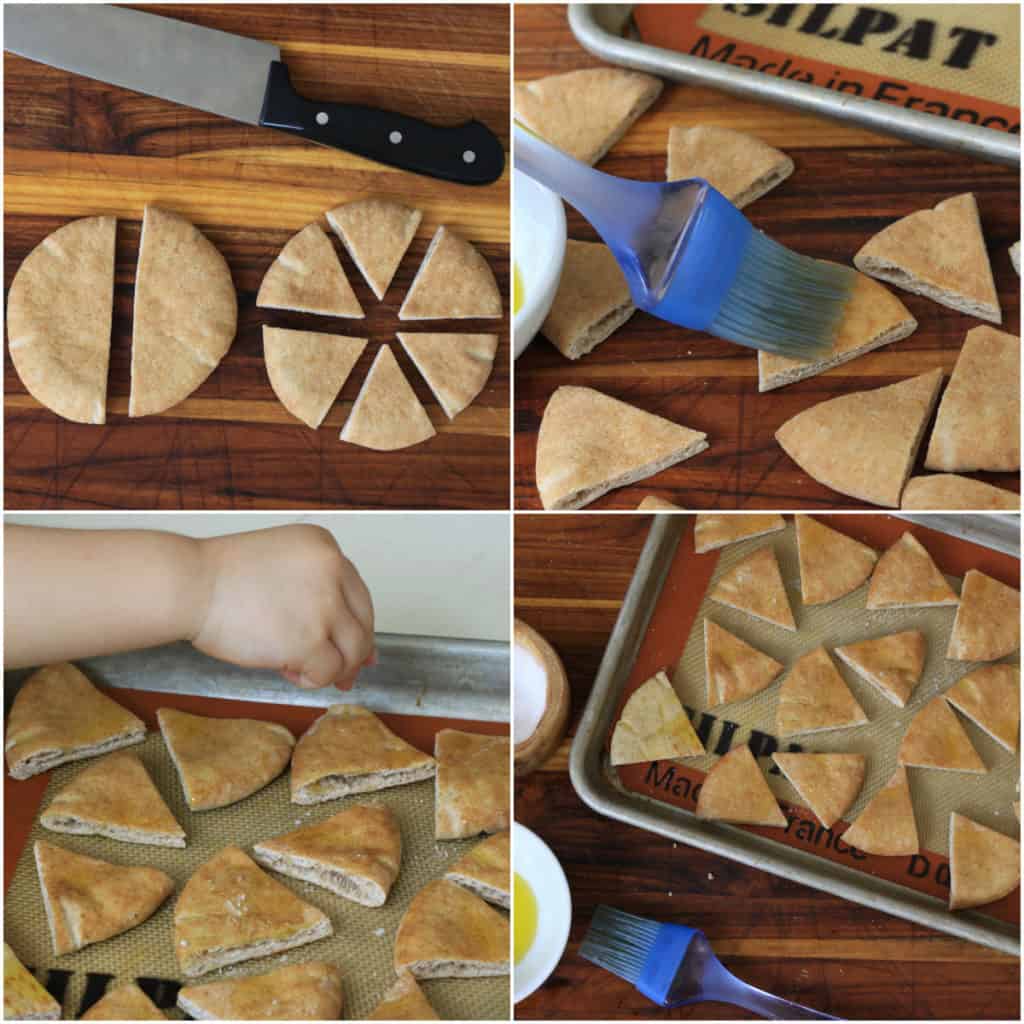
- Cut the remaining pita pockets into 6 pieces. (Or just pick up some already made pita chips! We’ll never tell…)
- Coat with olive oil and dust with salt.
- Bake at 400 degrees F for about 8 minutes until crispy.
The shopping list
- Strawberries
- Blueberries
- Kiwi
- Celery
- Peppers
- Cherry tomatoes
- Baby spinach
- Edamame
- 18 eggs
- Marinated mini mozzarella balls (bocconcini)
- Whole-wheat pita pockets
- Small naan bread
Pantry items you’ll need but probably already have: non-stick spray, mayonnaise, mustard, salt, pepper, olive oil.
Want more lunch ideas? Try our weekly plans with these main ingredients:
This post includes affiliate links to Amazon and PlanetBox. When you shop through these links, Foodlets earns a small commission at no extra cost to you at all.
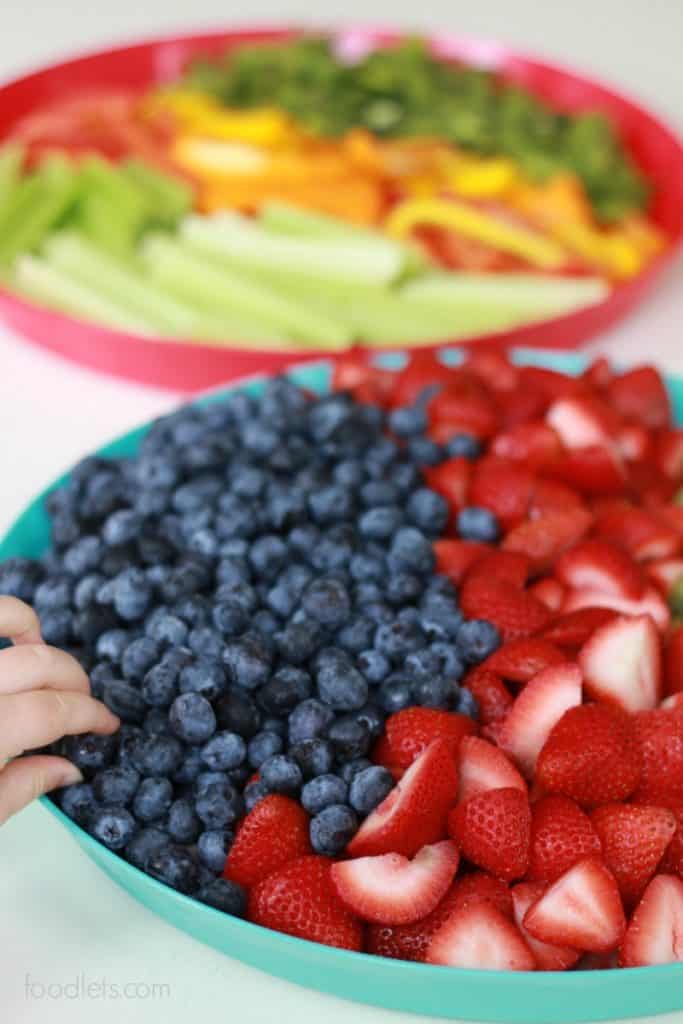
I love this!! May I know where you got the big red and blue trays your fruits and veggies are displayed on in the picture?
Yay, thanks Robyn! I got my trays at Walmart, really just for hosting parties and meals on our patio. They are pretty good but the lids aren’t very stable. If I were going to buy new ones to use over and over like I’ve started for lunches, I’d probably get something that stays on better. I linked to a tray in the post that has really good reviews on Amazon and might try that one myself!