WE’VE MADE A LOT OF THINGS LIKE THESE. Homemade Lara Bars, DIY Kind Bars, Oat & Chocolate Balls and more…but these are the easiest. And the least expensive. They’re also the lowest in sugar, without any sweetener at all.
One more thing. They’re the yummiest too.
The formula for these healthy no-bake bars is simple:
- 2 cups dried fruit (we used dates + raisins)
- 1/4 cup nut butter (we used peanut butter)
- 3/4 cup nuts (we used unsalted peanuts)
We also added:
- 1/4 cup shredded coconut
- 2 tablespoons unsweetened cocoa powder
Next time we’ll try one of these too:
- chia seeds
- dried cranberries or cherries left whole
- diced dried apples or apricots
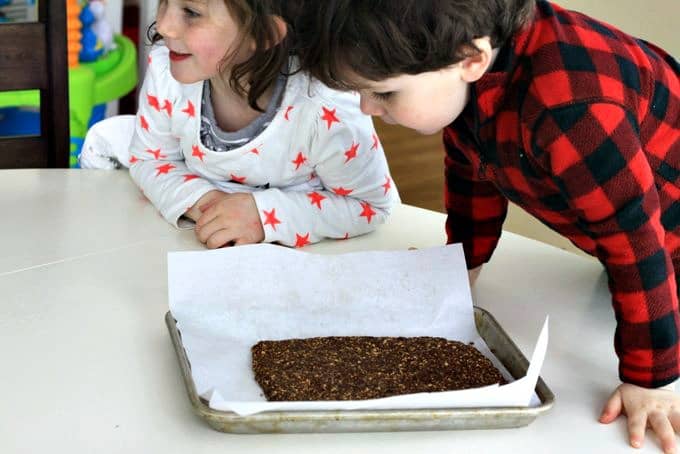
You just grind everything with a food processor and squish it into shape on parchment paper. Tip: use the bottom of a measuring cup to make it level.
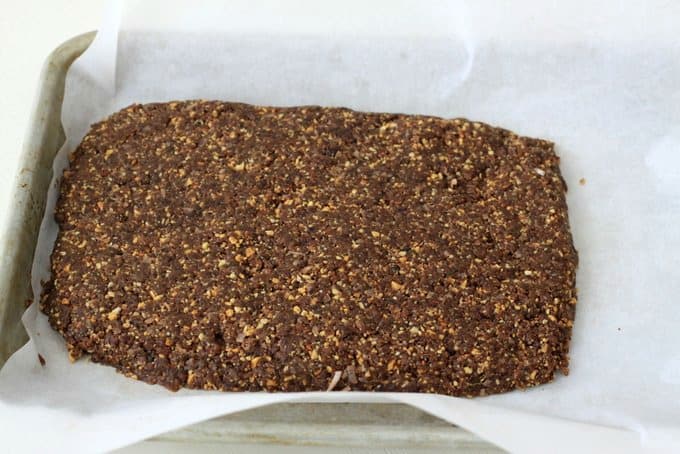 Cover (I used the parchment paper with a piece of tape, then set a cube of butter on top to hold it in place) and chill for 30 minutes.
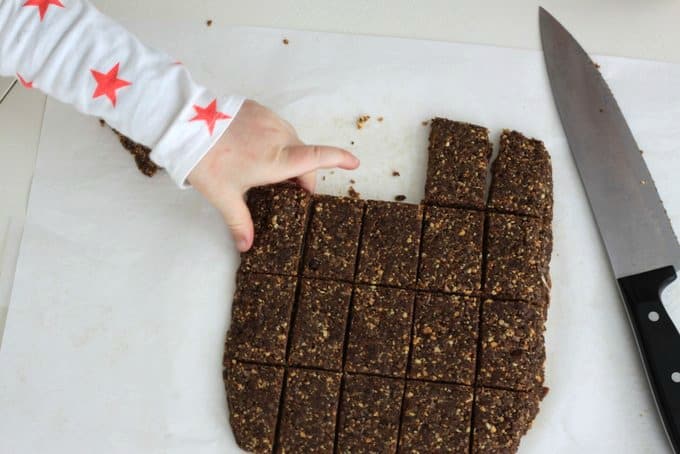
Remove from the fridge.
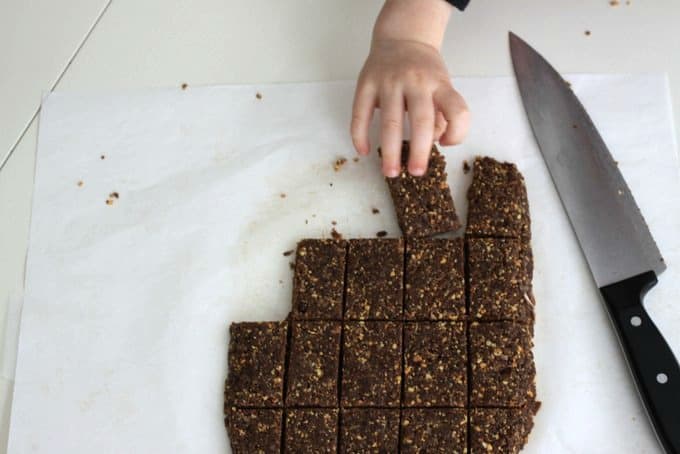
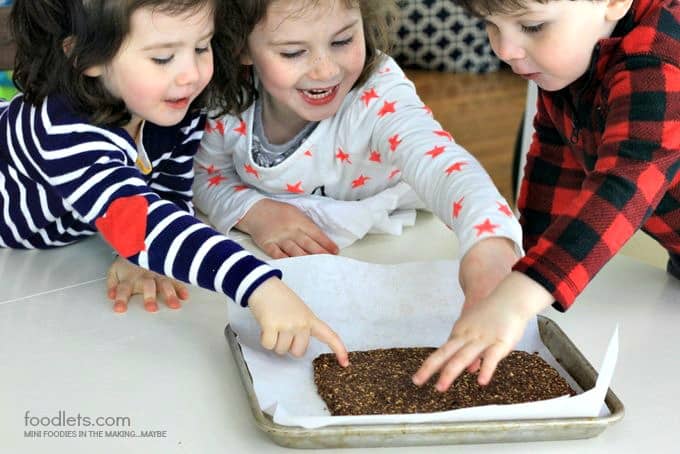
Assemble your helpers, rabid snackers, whoever happens to be around.
Think you’ll scare everyone with the big knife but realize they don’t care.
Put what’s left in the freezer.
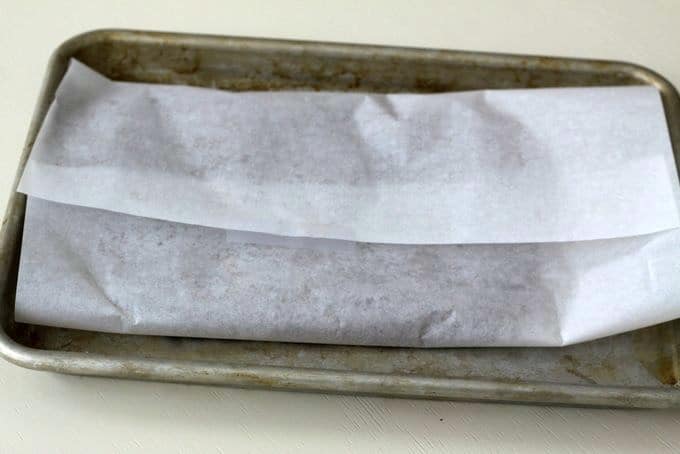
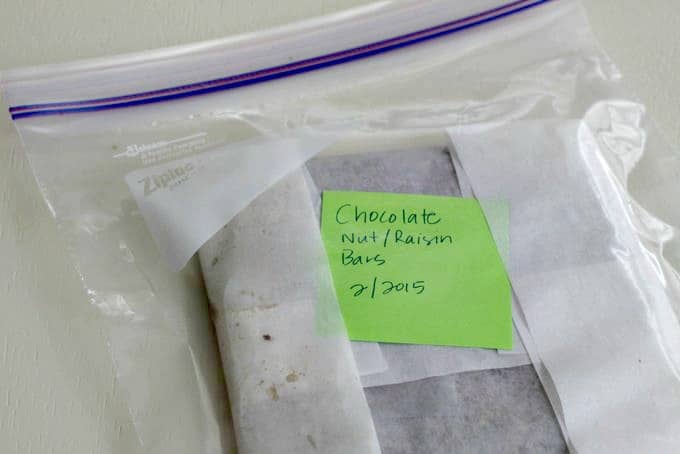
 Fold up the parchment, then put everything in a large zip-top bag. I used a Post-It to label this so I can reuse the bag easily.
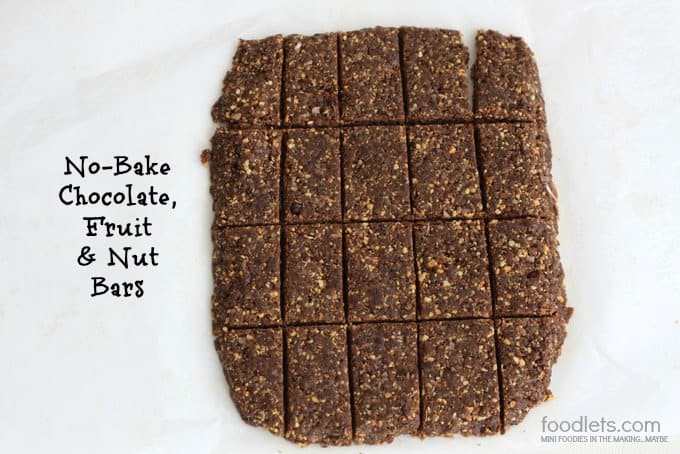
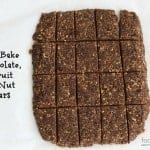
No-Bake Chocolate, Fruit & Nut Bars
You can use any combination of fruit and nuts but we used these inexpensive (and beloved) versions below.
Ingredients
- 1 cup raisins
- 1 cup pitted dates
- 1/4 cup natural peanut butter (the kind with only peanuts and salt as ingredients)
- 3/4 cup unsalted peanuts
- 1/4 cup shredded coconut
- 2 tablespoons unsweetened cocoa powder
Instructions
- Prepare a baking sheet with parchment paper so there’s enough extending over the edges to make it easy to lift the whole thing out later on.
- Put all ingredients into a food processor and pulse until it comes together. Ours was chunky but slightly sticky.
- Make a rectangle about 8×9 inches and 1-2 inches thick. Use the bottom of a measuring cup to press the “dough” down.
- Wrap it up and refrigerate for 30 minutes.
- Remove from fridge and slice into bars.
- Store in the fridge in an air-tight container or freeze, wrapped in the parchment and inside a zip-top bag.

Geez, your kids are adorable. Food looks good too.
Aw, thanks Chris! These bars are amazing. As you can see in those faces. Thanks for your note!
they all look like little ‘peaches’
Boy, do they! Heaven help them. 😉
I am a pediatrician and at work I am like a broken record when I talk about REAL food, not too much, more fruits, veggies, whole grains, etc. etc. . And I love food, love to cook , and garden a bit. So….I love your blog. You are very inspiring (no one says “parenting” and “efficient” in the same sentence, what you do in the kitchen is a lot of work!) and undoubtedly your kids (who are absolutely adorable btw) wil grow up with a healthy attitude towards eating. Thanks for your good work!
Susan, you just made my day! Maybe my week. Thanks so much for your note.
It’s whizzing in the food processor. I used half a cup of dates and half a cup of dried apples. And cashews instead of peanuts. Thinking of using some chickpeas or unseasoned humus next time instead of the peanut butter (I have two littelies in daycare with no nut policy).
I love your blog. It’s tuff to do all the little things yourself if you have kids. But it’s so worth it to give things a try. Especially when you have some helping hands 😉
Keep going with your ideas!
Awesome, Yvonne! Hope your littles enjoy. And if you do try the chickpea/hummus version let us know how it turns out!
Very good. Do you have other kids hea,thy bars or cookies that I can keep on my kitchen counter without freezing or fridge and can keep for at least one week on the kitchen counter.
Thank you
Thank you!